Block properties
A Block property in ePLAN is a bundle of multiple properties combined into one output field. In this example we will use the cable label which is a combination of the cable source and target as an example of how to create and define ePLAN Block properties.
When it comes to Block properties there are two terms that need to be differentiated Block properties and Block property Formats. A Block property is a container that collects several ePLAN properties into one logical group. A Block Property Format defines the visual layout of the block property. Block properties can be used to display device tags, function texts, connection points, installation locations, etc. Block property Formats define the visual layout of the Block property, they define the order of the fields, line breaks, separators, prefixes / suffixes.
Now we will demonstrate how to create and define a Block property to display cable labels below the cable DT-s. In this example we will use cable labels which are formed in 2 parts, the cable source connection and the cable target connection.
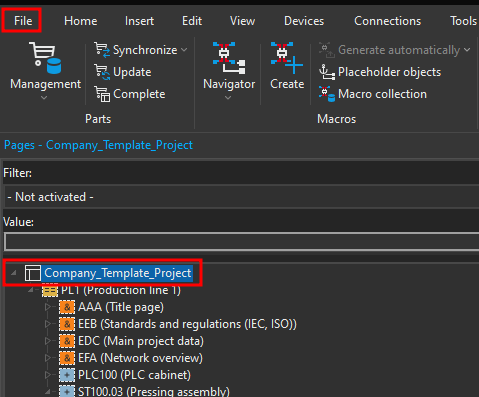
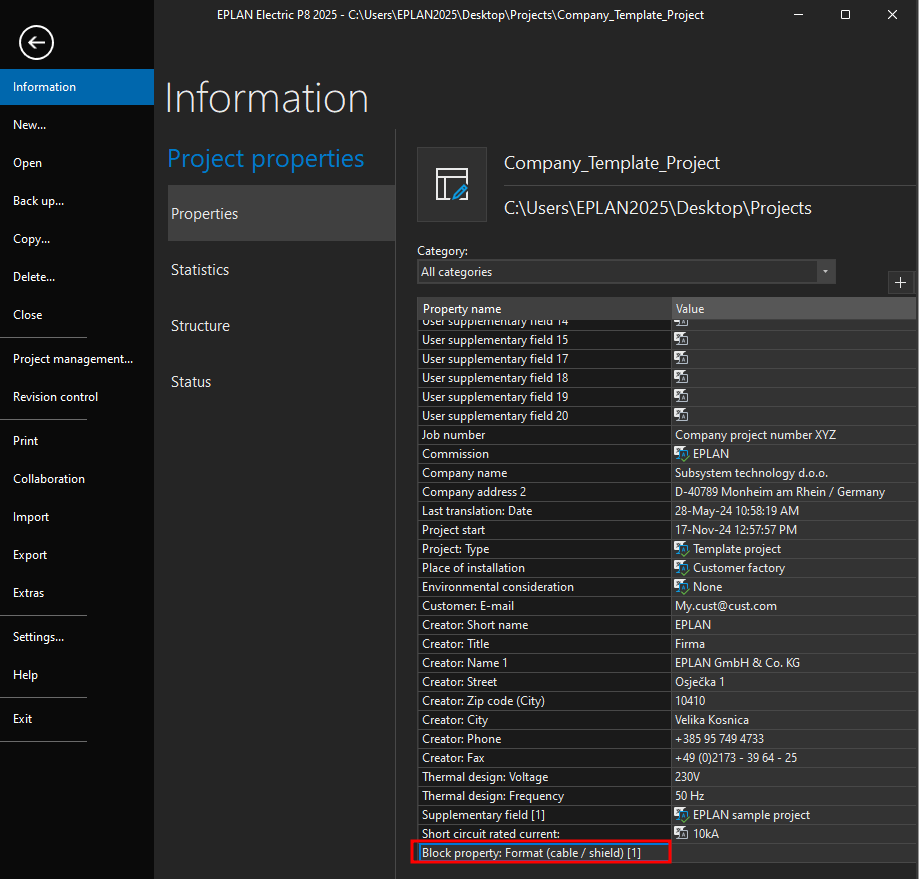
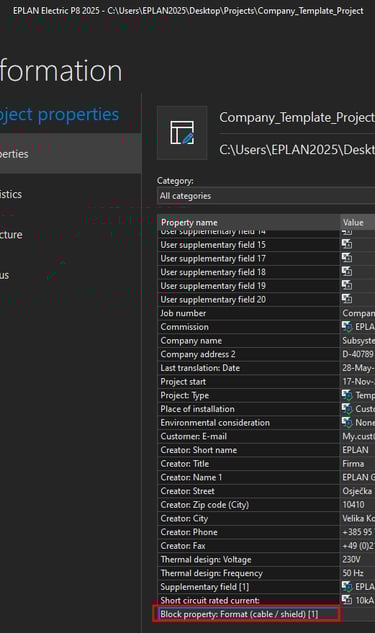
In order to create the cable label Block property first we have to define the Block property Format. Click on the project name in the page navigator in this case this is the Company_Template_Project then in the top left corner click on File ribbon.
Now in the Properties tab click on the plus icon.
Search for Block property: Format (cable / shield) and then open that property group and then click on the Block property: Format (cable / shield) [1] and then click on the OK button to add that property under the Property categories.
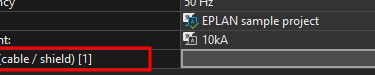
Click on the three dots on the right side to edit the Block property: Format (cable / shield) [1].

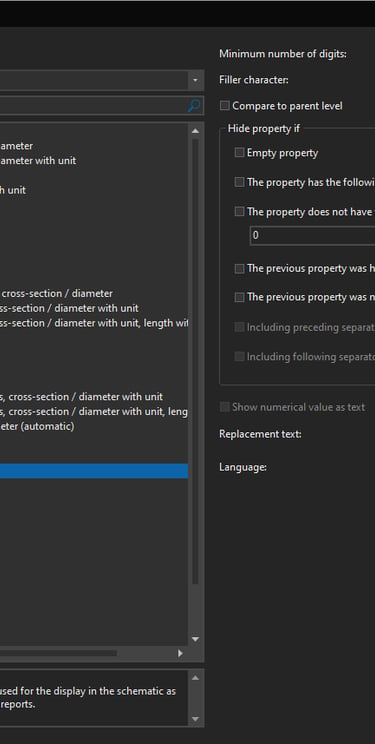
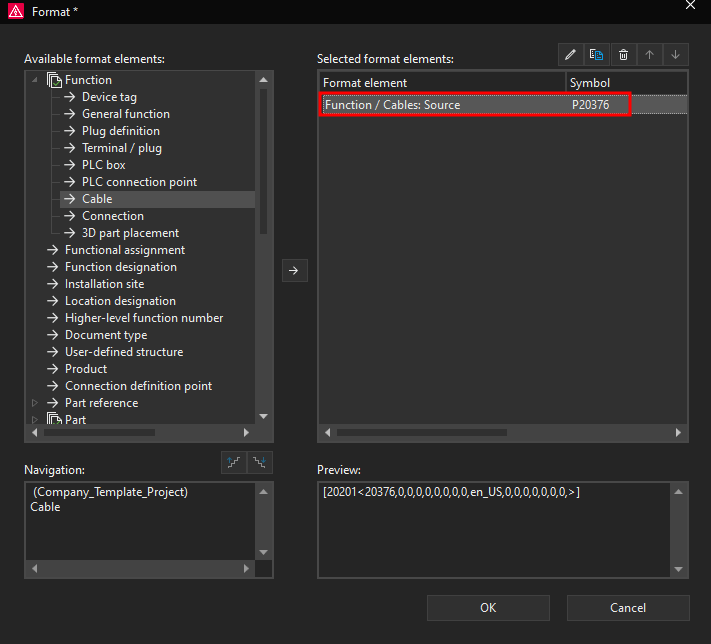
Now the Format window will open, in this window we can define all of the information and the manner in which that information is displayed for this Block property. Since we are creating cable label which displays the cable source and target connections we will start by adding the cable source connection. To add the cable source connection we will click on the Function and then on Cable under the Available format elements: then click on the arrow that is pointing to the right side in the middle of the window.
Now a Format: Block property window will open. Locate the Cables: Source property and then click on the OK button.
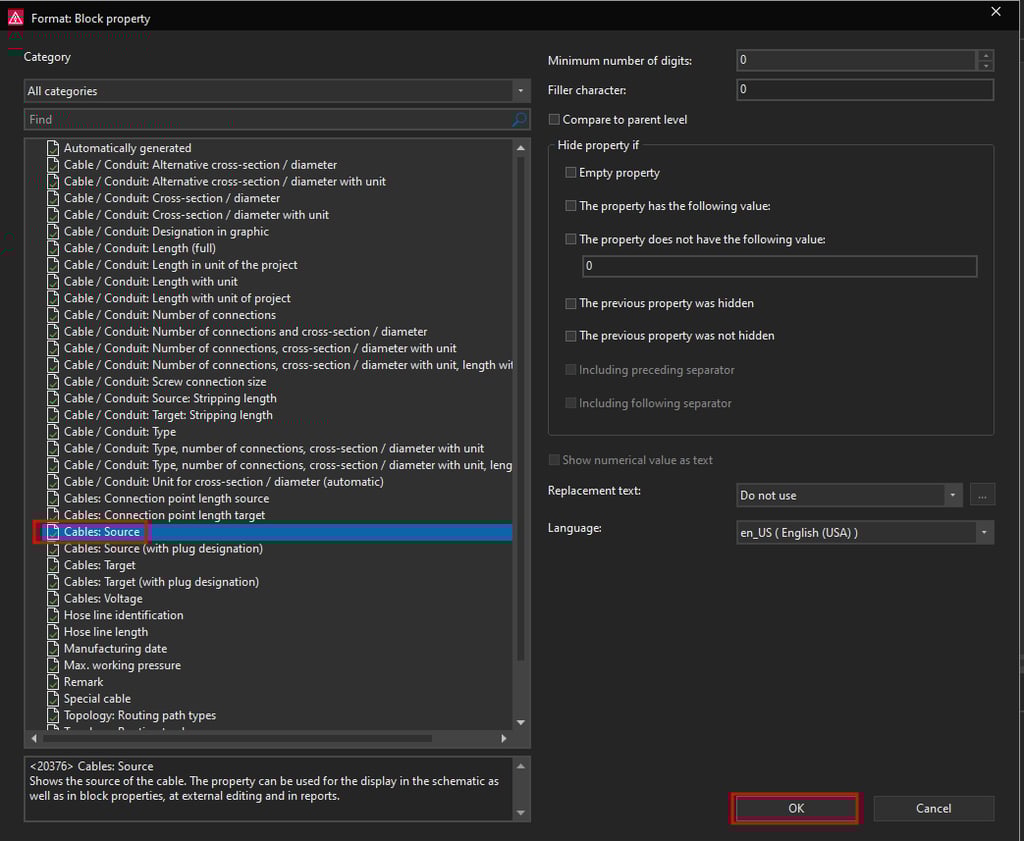
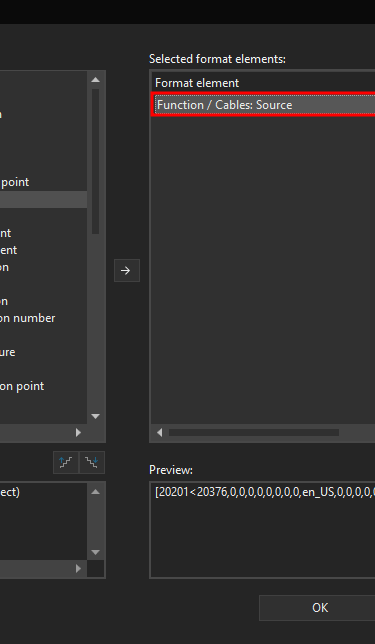
Notice how this property is now visible on the right side under the Selected format elements:
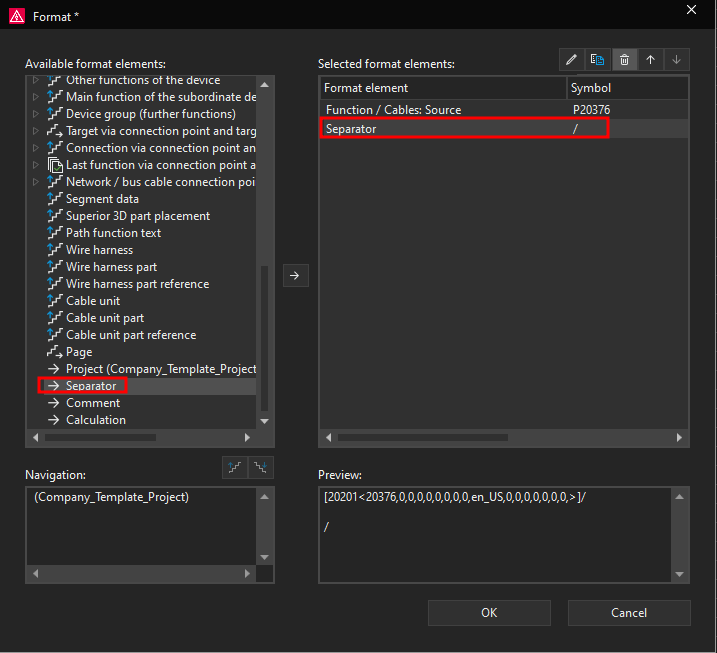
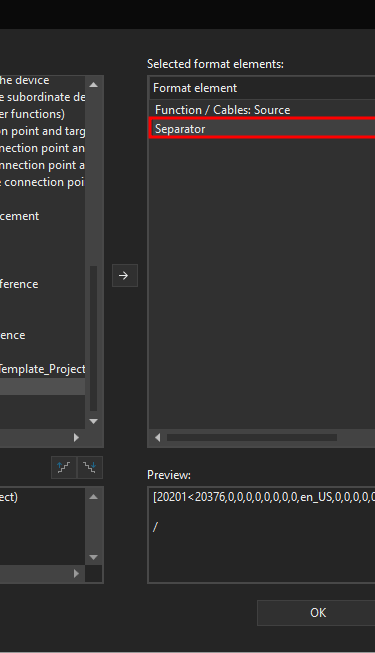
We will add a separator character / in the cable source row. In order to do that we have to add a Separator character, in the Format window click on the Separator and then click on the arrow pointing to the right side.
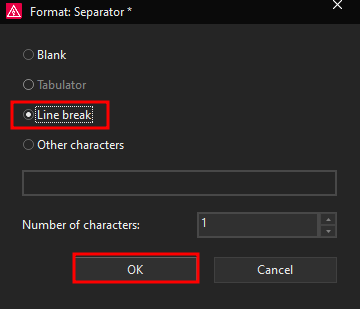
Now a Format: Separator window will open, here we have options to select Blank space as a Separator or to use Line break. However since we want to add / character we will select Other characters. In the row below we will enter the character which we want to use as a Separator which in this case is /.
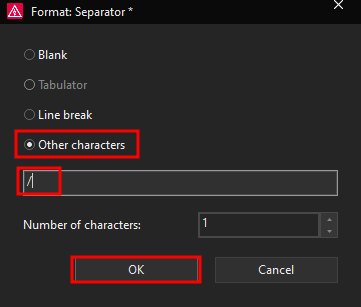

Click on the OK button.
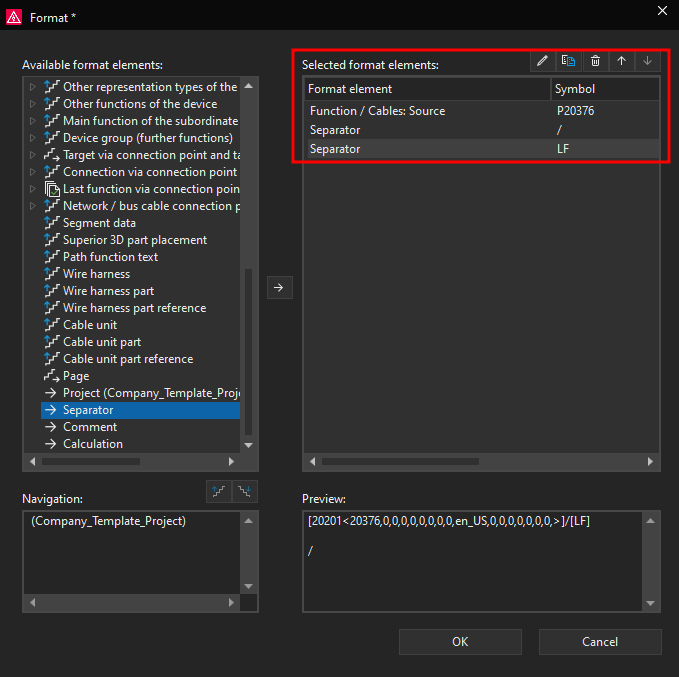
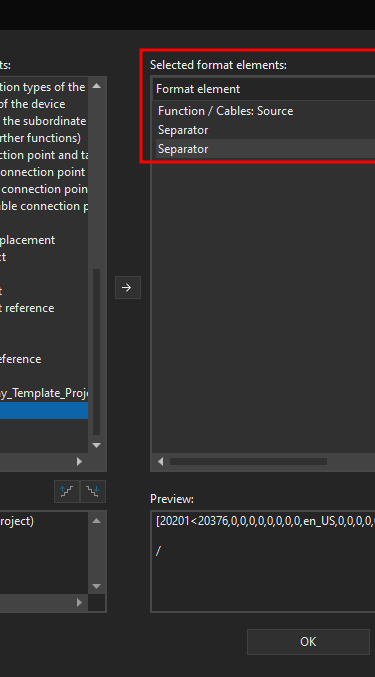
We would like to display the cable target part of the cable label below the cable source, for that reason we need to add the line break LF as another Separator in the same like we did with the / character.

This is how the Selected format elements look like now.
Now we still need to add the cable target, we will add the cable target in same way we added the cable source. Click Cable below the Function format element and add the Function / Cables: Target to the Selected format elements:.
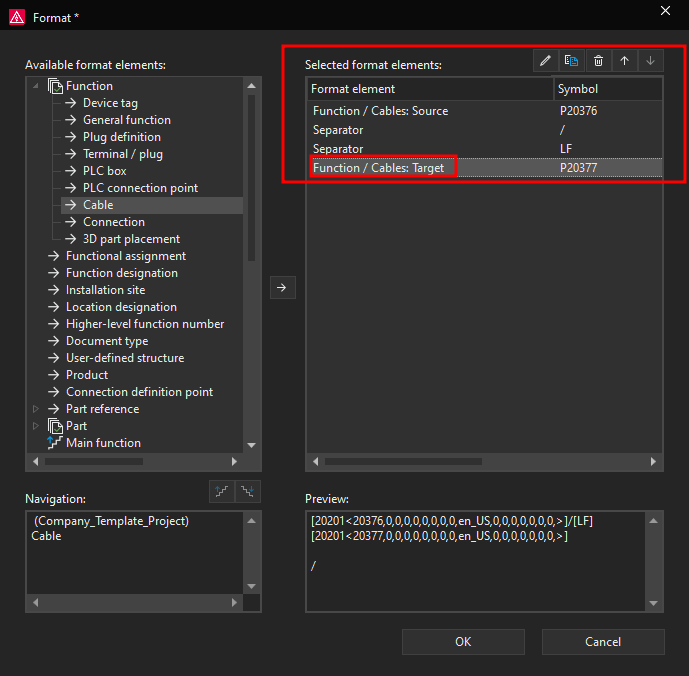
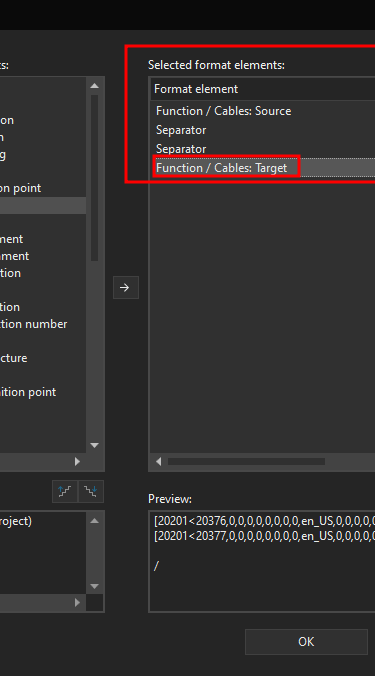
Now we have selected all of the necessary format elements which are required to create the cable label and designation according to cable source and cable target connection designations. To apply the changes and close the Format window by clicking on the OK button.
Now you can see that ePLAN added a value in the Value field, this value corresponds to the configuration that we made for this Block property Format.


Now we can go to the page where we have a cable connection. In this example we will go to the cable connections between the sensors and terminals and then we will open the cable properties.

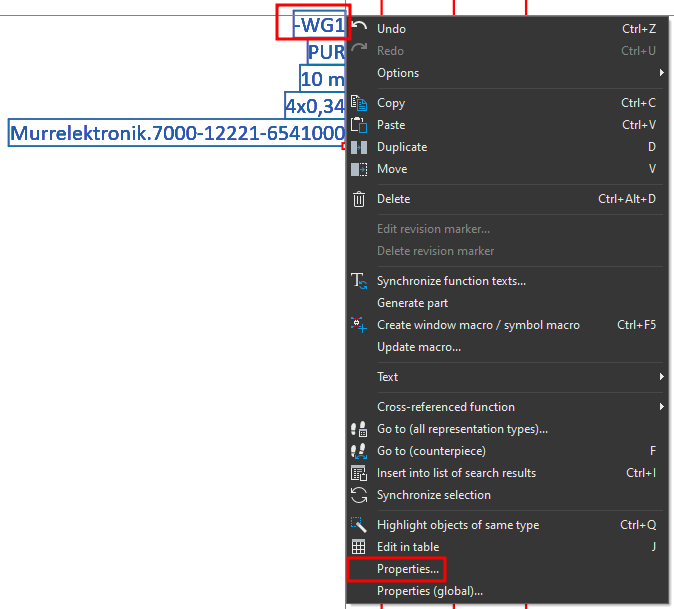
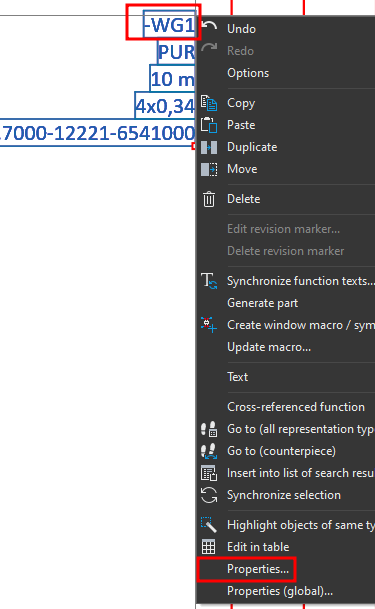
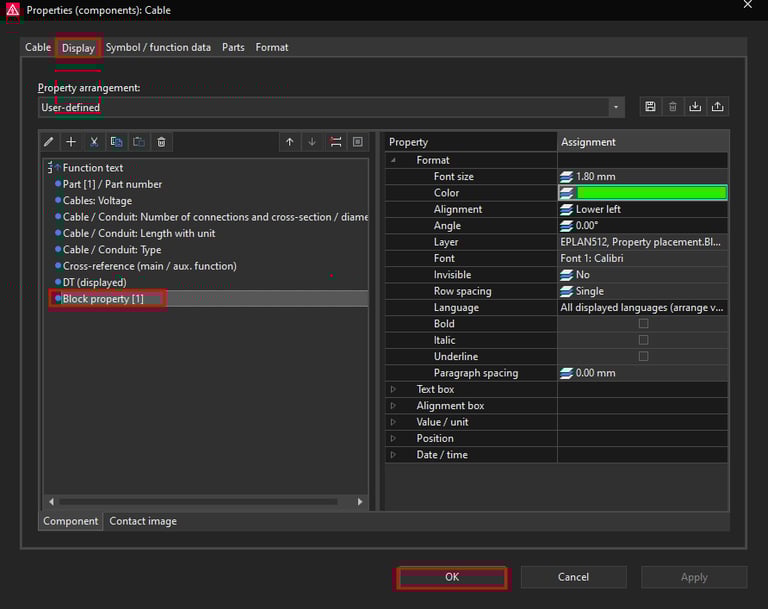
Once we open the cable properties we will go to the Display tab. We will add a new property to be displayed by clicking on the plus icon.
In the Property selection window under Function navigate and find Block property, then select the Block property [1] and click on the OK button.
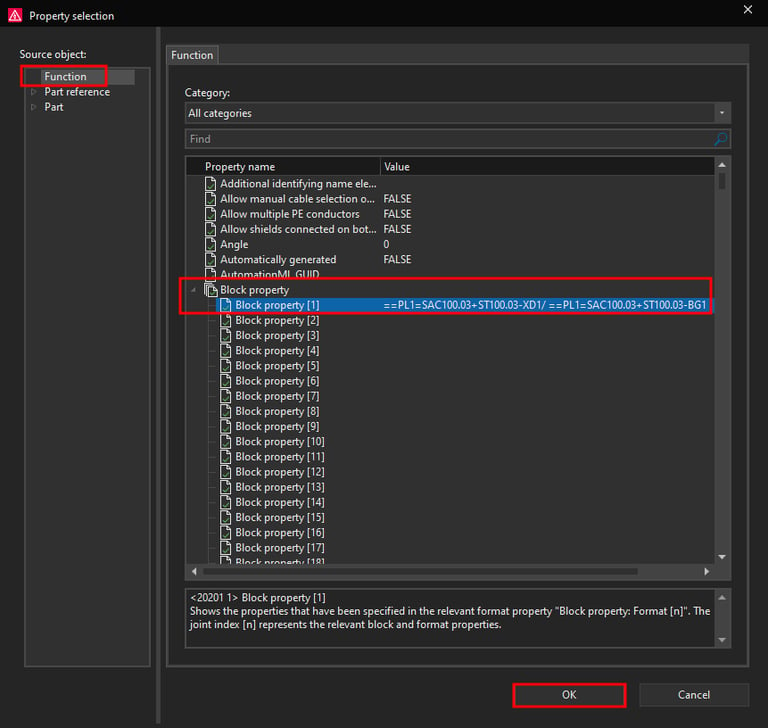
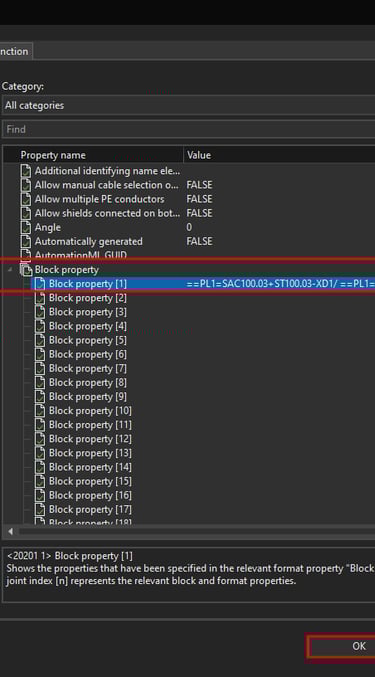
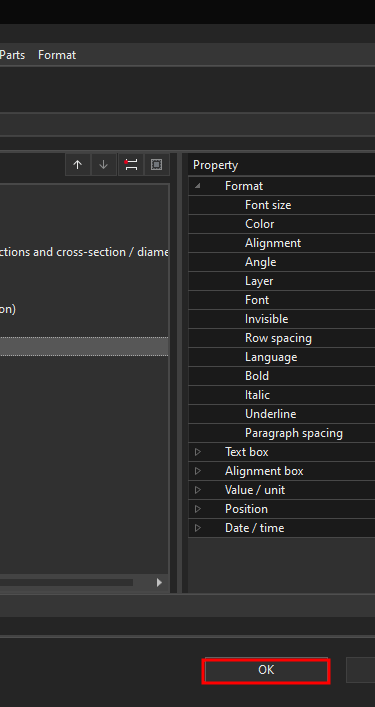
Block property [1] should now be visible in the Display tab. Click on the OK button in the Display tab.
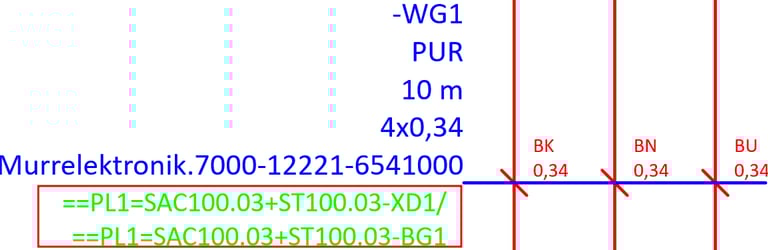
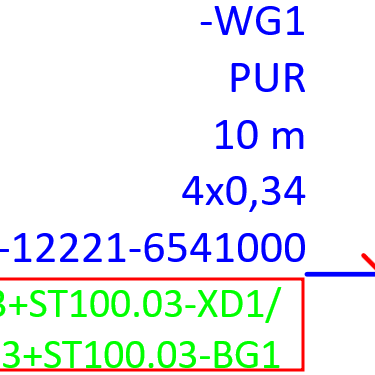
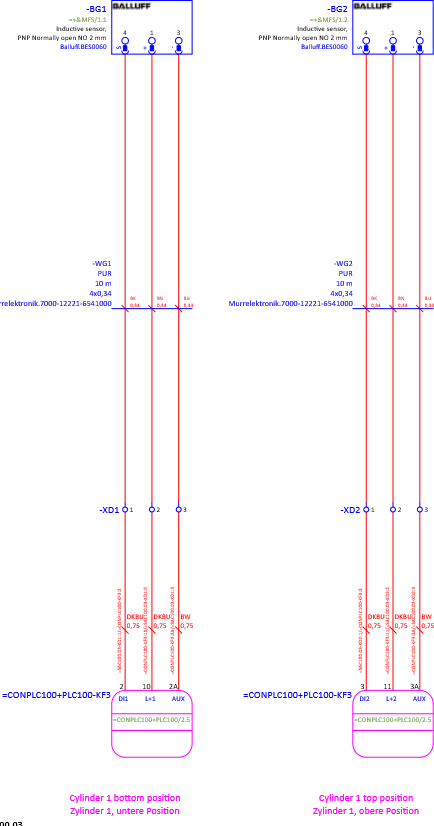
The cable label or the cable Block property [1] should now be visible next to the cable designation.