Macro boxes
Macro boxes are graphical frames that enclose objects you want to save as a macro. They define the scope of the macro and they group multiple objects into a reusable unit and they also store macro logic and placement behavior. Macro boxes also enable variants which give us options based design. For example we can have a sensor with 2 different types of connectors for process connection or we can have a motor starter combination with a 230 VAC control voltage and 24 VDC control voltage combination. Those different combinations would be stored as variants in the macro box.
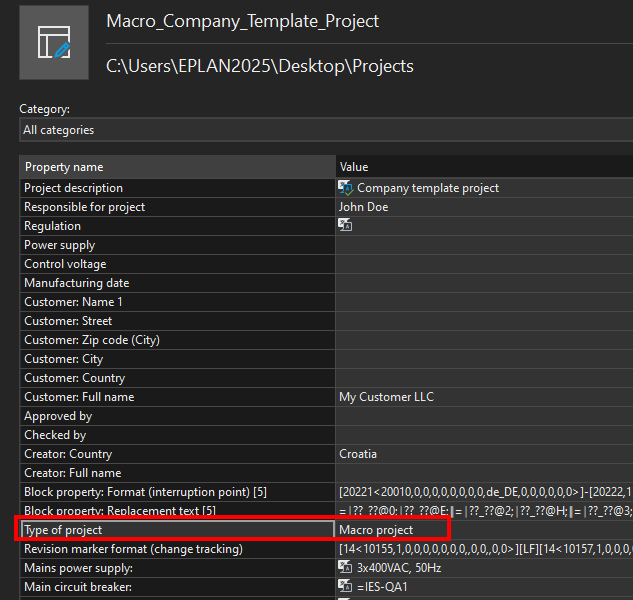
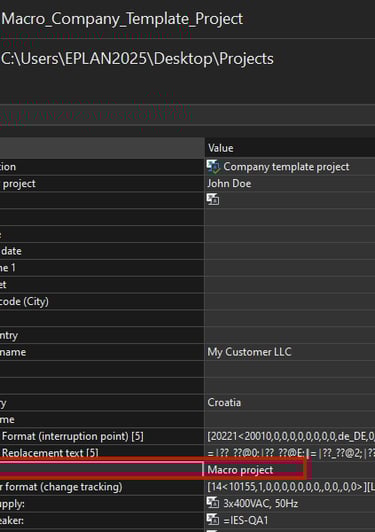
Macro boxes are meant to be inserted within a macro project. A macro project is a project that is defined as macro project type within the project settings.
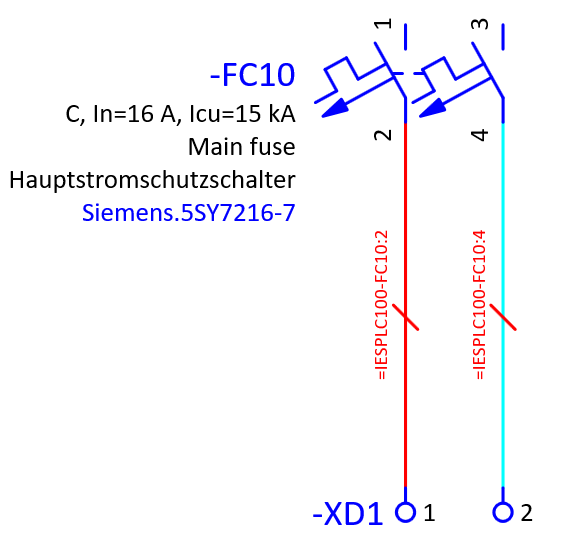

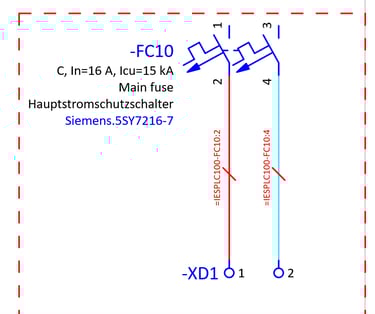
We will use the example below which contains a double pole circuit breaker and terminals and wires to insert into a macro box.
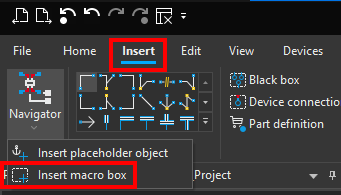
To insert a macro box click on the Insert ribbon and then click on the small arrow below the macro navigator and then click on Insert macro box.

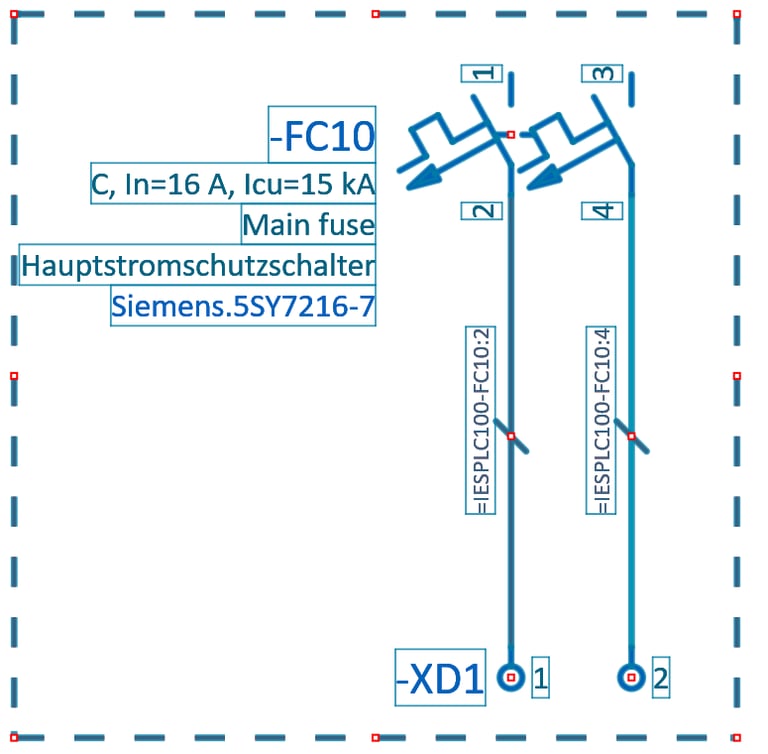
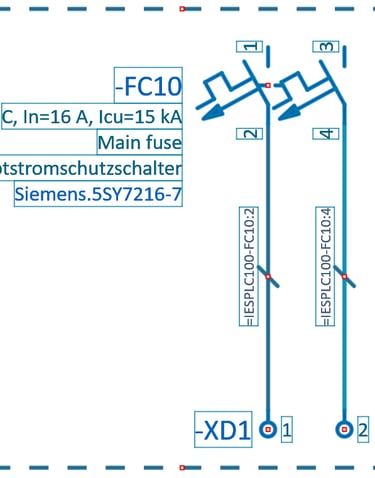
Now we will place the macro box around the elements.
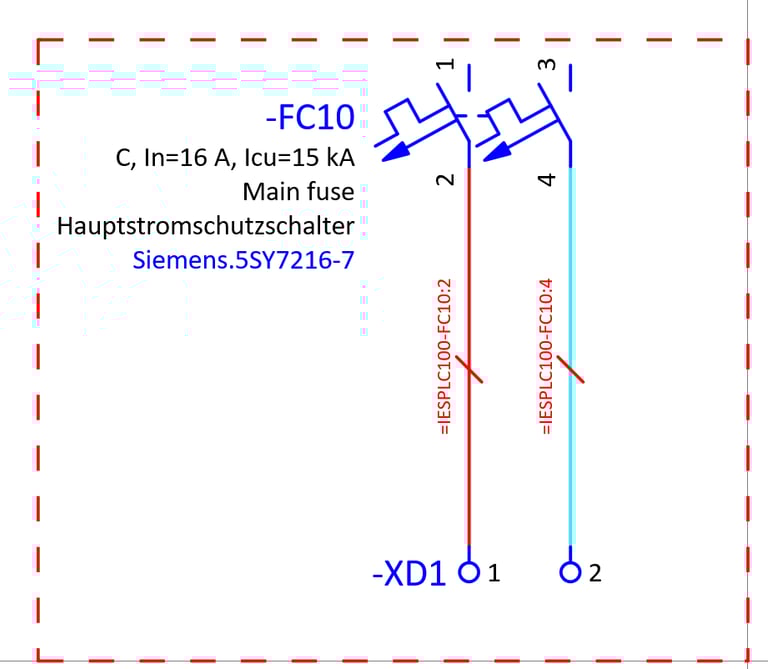
You can always check which elements were placed within the macro box by right clicking on the macro box and then clicking on the Select associated objects. You will then be able to see all of the highlighted objects which are present within the macro box.
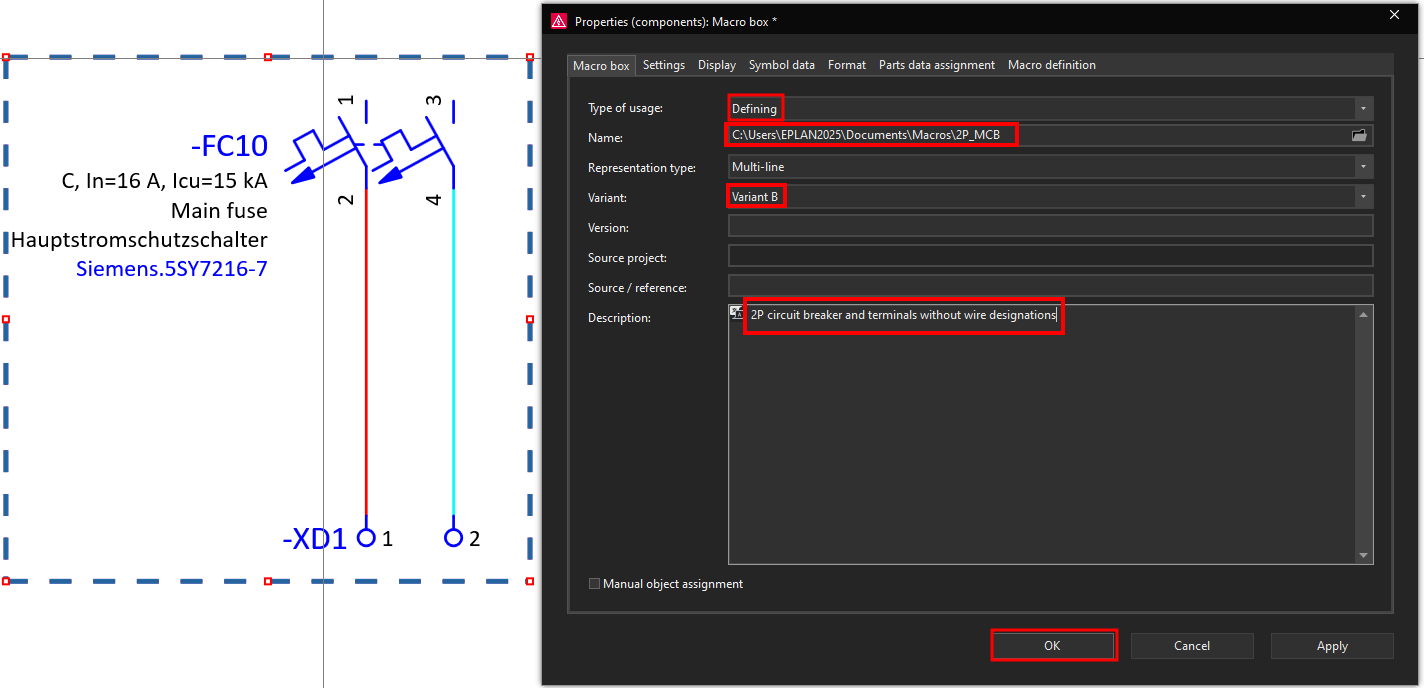
By double clicking on the macro box frame we can open the macro box properties.
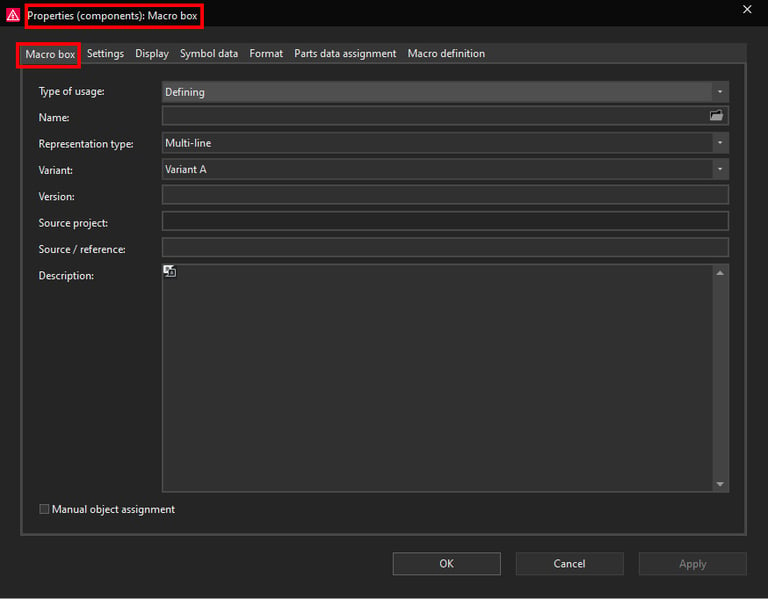
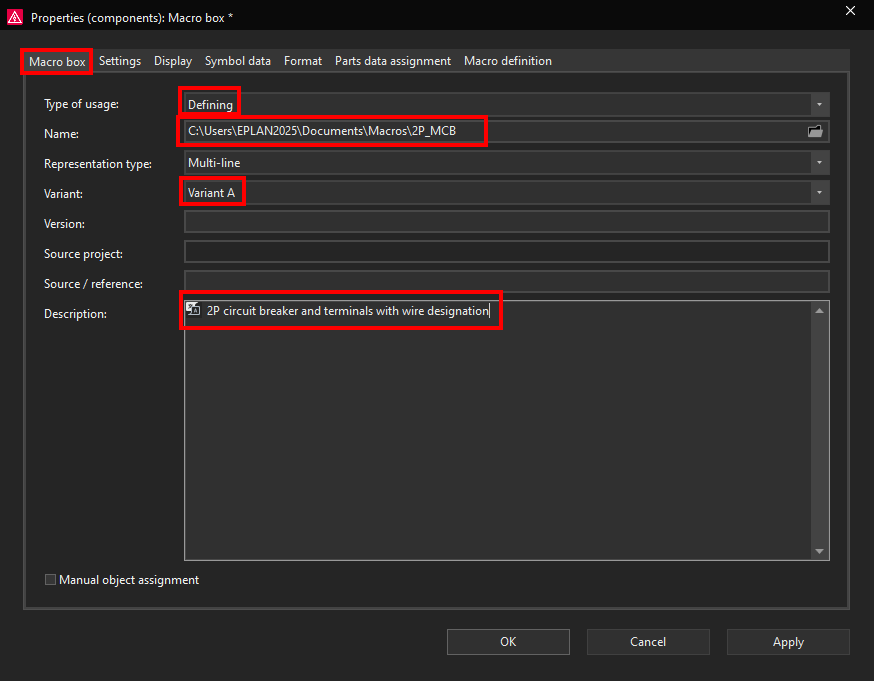
In the macro box properties window we can define the type of usage of the macro box. We will select the Defining type of usage. A Defining macro box creates the macro. It is the master container that defines what the macro is. We will also give the macro box a name, in this case this will be 2P_MCB.
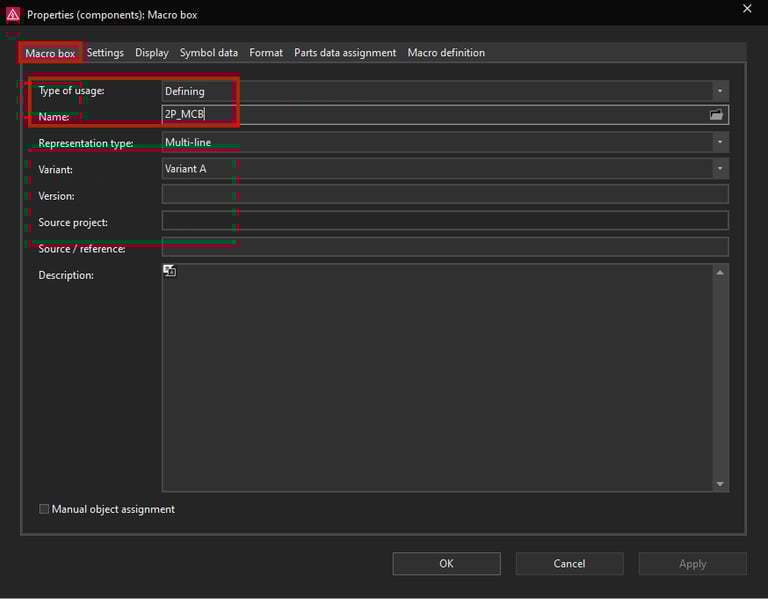
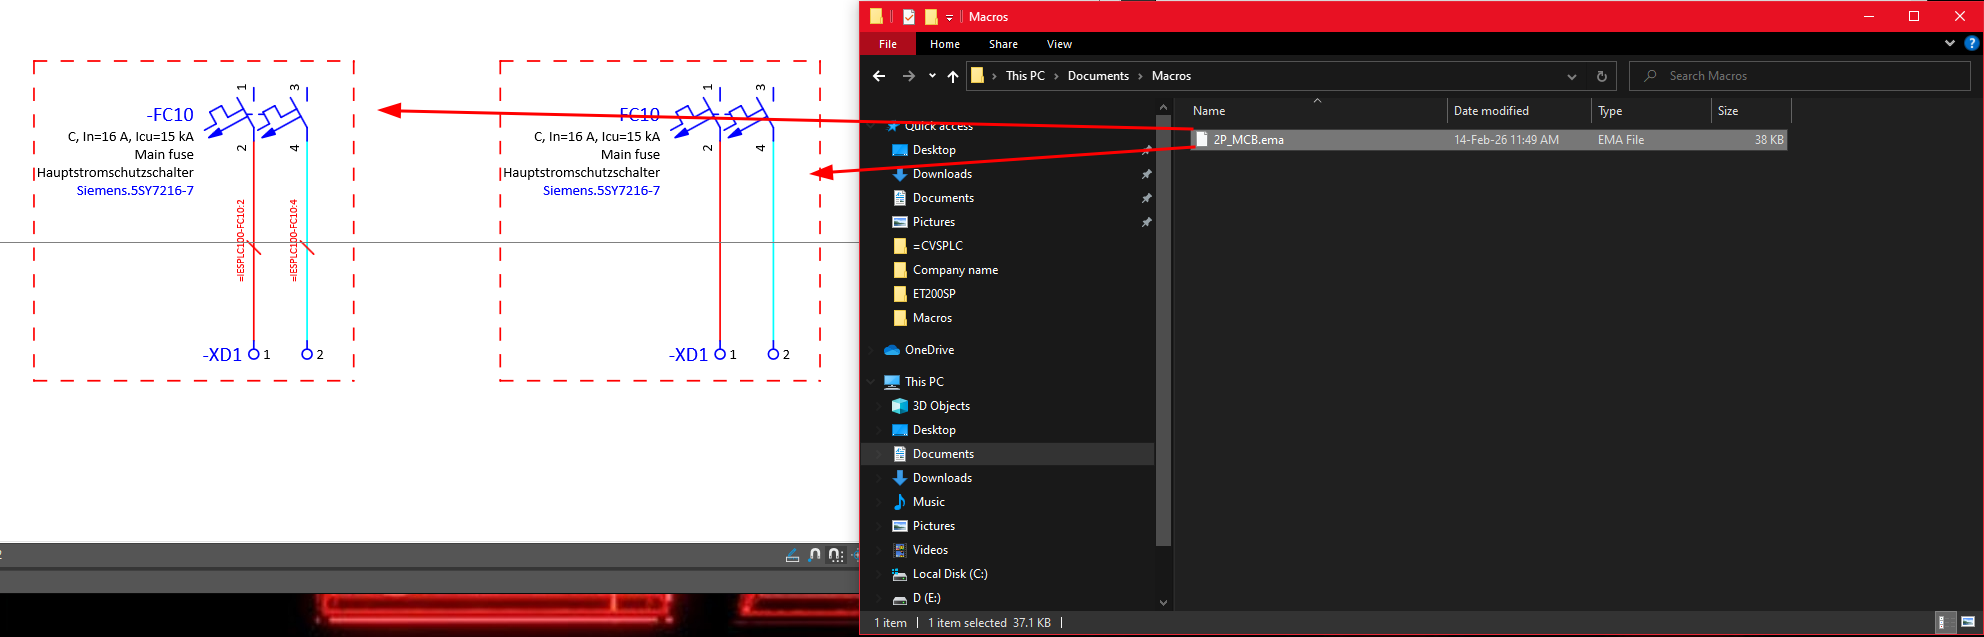
By clicking on the folder icon we can select the location where we want to save the macro.
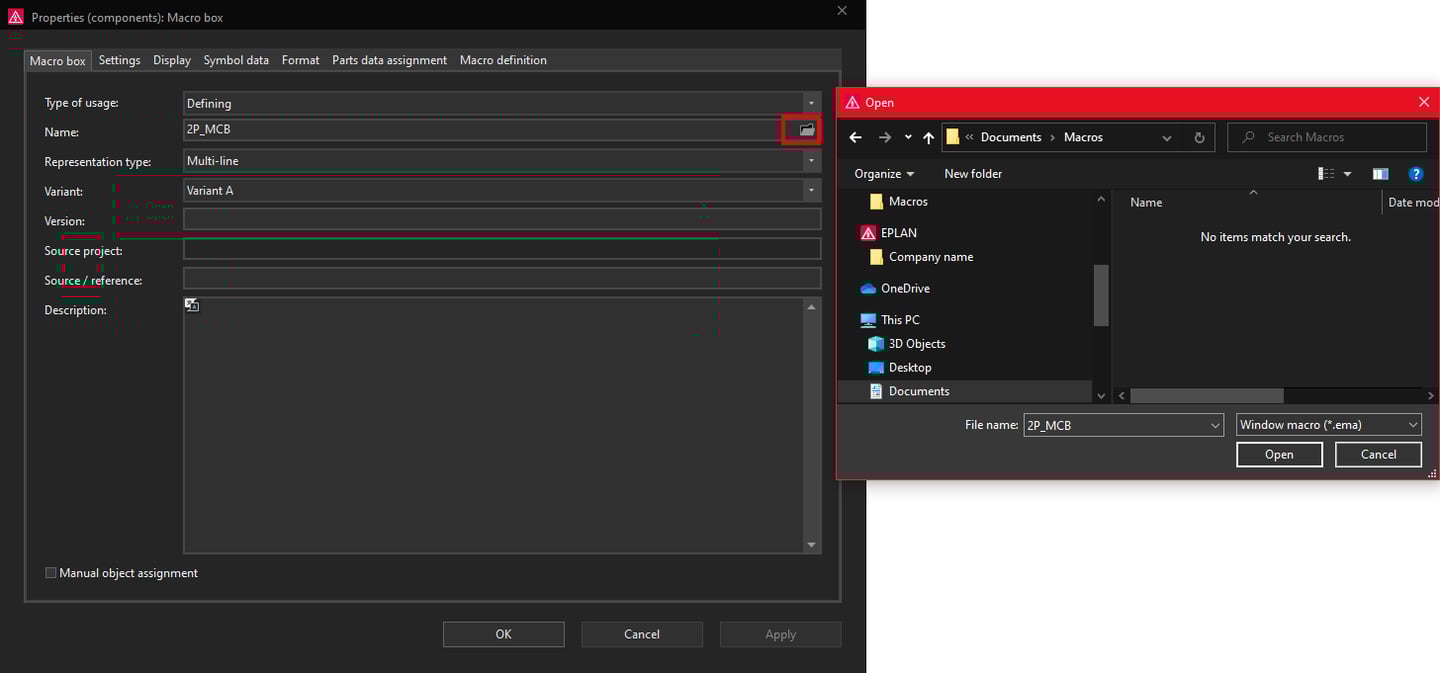
In this case we will save the macro in the C:\Users\EPLAN2025\Documents\Macros folder.
We will save this macro box and its elements as Variant A. You can save macro variants within the same macro box name from A to Z. In this way you can save complete functional units which can be reused for different tasks and project needs. At the bottom we can give this macro variant a description in this case we will give this macro variant a description of 2P circuit breaker and terminals with wire designations.

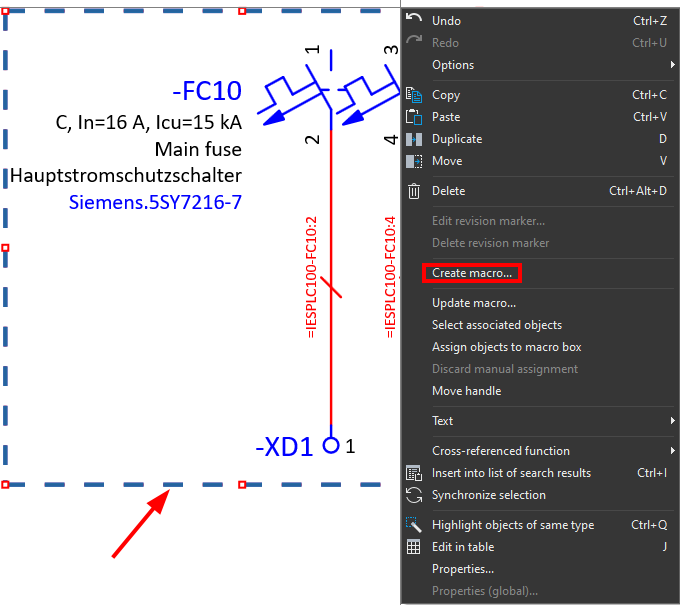
Click on the OK button. Now we can create this macro version by right clicking on the macro box frame and then clicking on the Create macro command.

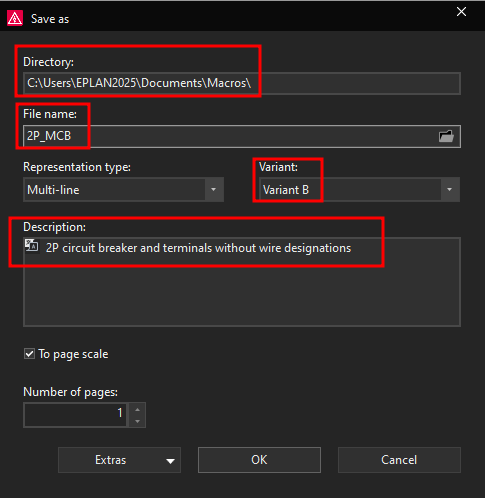
Now the Save as window will open here we can check if all of the information is correct, if so then click on the OK button.
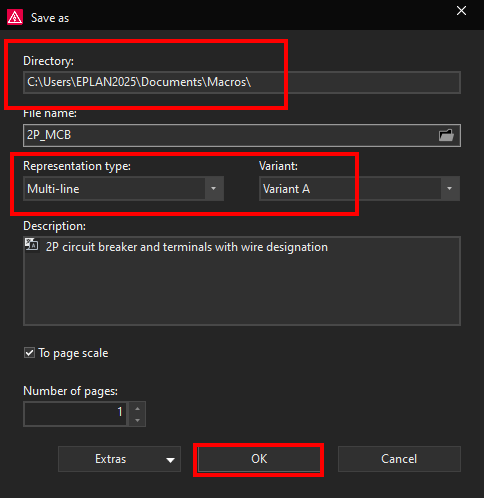
Now the macro variant will be saved to the Directory that we selected.
Now we will create another variant, variant B which will have the circuit breaker and terminal connections but without wire designations. We will place the macro again and give the exact same name and save location.
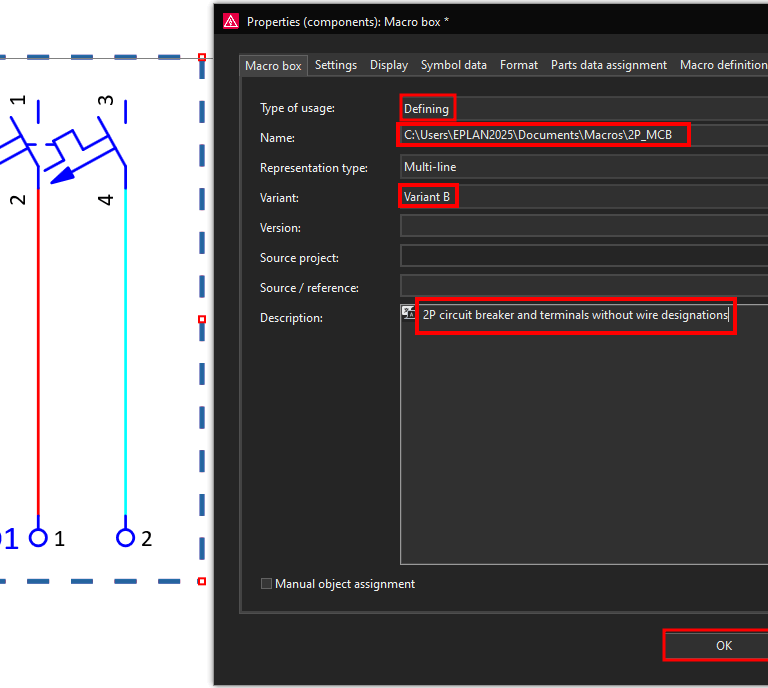
We will also create this macro variant B, like it was done with macro variant A.
Now you can test the insertion of the macros to see if they are functioning correctly. Go to the location where you have saved the macro and then you can drag and drop that macro inside the ePLAN project.

You can switch between different variants by pressing the TAB button on the keyboard.